Aside from it’s free, Google Analytics will analyze thoroughly almost all of the activity on your website. This is the reason why Google Analytics is one of the most popular digital analytics software especially right now that most of the business have an online presence through a website.
Once you learn your inner structure of your website, you would know the things that you need to accomplish in order to be successful with your business. Having google analytics on your website will allow you to know the details of your website visitors, how long did they stay and the pages that they visited on your website.
With the newly updated Google Analytics V4, you can now use a combination of metrics expressed in a mathematical operation, use a single request and get data in two date ranges, has a rich vocabulary to request Cohort and Lifetime Value reports and enables you to get multiple segments in a single request.
In this tutorial, we will walk you through on how to upgrade your Google Analytics to Version 4 and on how to add them to your Shopify website.

Upgrade your Google Analytics Property to V4
What we need to do first is to Upgrade your existing Google Analytics to V4.
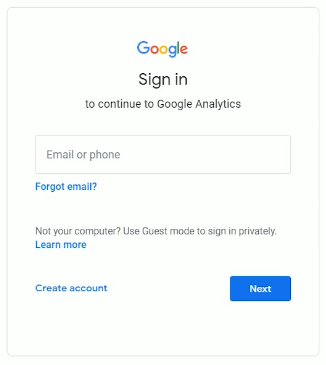
Sign in to your Google Analytics account at analytics.google.com. Make sure that you’re logged in to the correct google account.
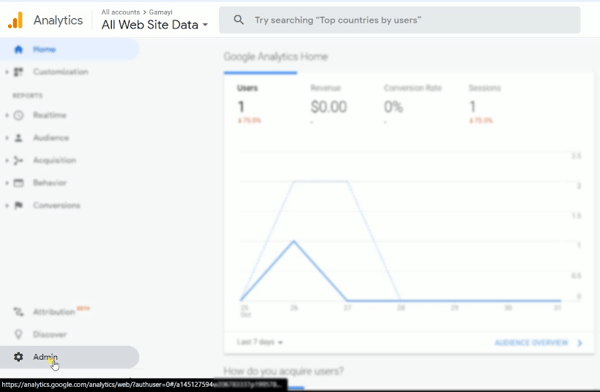
Once you’re in, navigate to the admin panel so we can upgrade your existing Google Analytics property.
Click on Admin in the bottom-left corner of your Google Analytics dashboard.
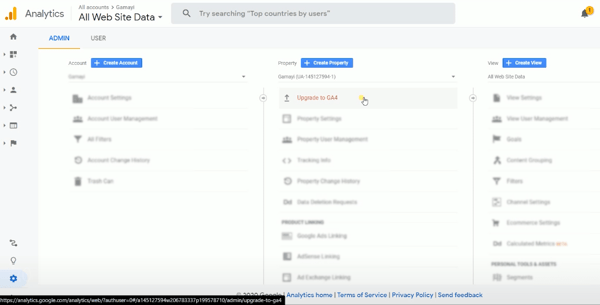
Select the account on where the outdated Google Analytics Is and make sure that you also are on the correct Property. If your property is not upgraded to Google Analytics V4 then you should see this option where it says “Upgrade to G4“.
Create a Property
Just click it and select Get Started on the next page.
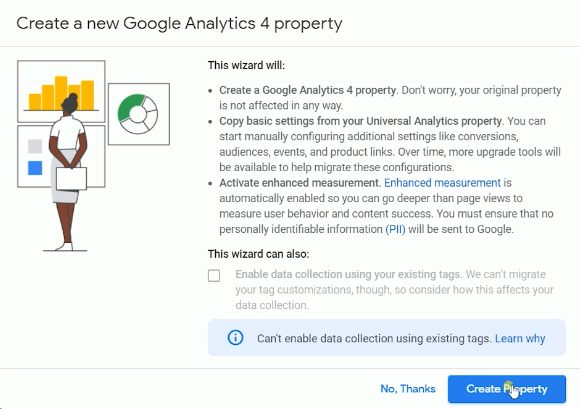
Put a check box on enabling the data collection and click Create Property.
The selected property is now upgraded to Google Analytics v4. All of new properties and account that will be created will automatically be a Google Analytics Version 4. What you will be needing is the Tracking ID.
You may need the website tracking code if Shopify doesn’t automatically add the Global Site Tag.
Install Google Analytics v4 to your Shopify
Next thing that we need to do is to install Google Analytics v4 to your Shopify E-commerce.
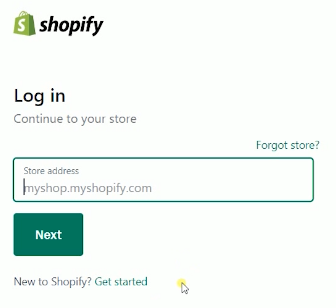
You can start by logging into your Shopify accountant. Go to www.shopify.com and log in.
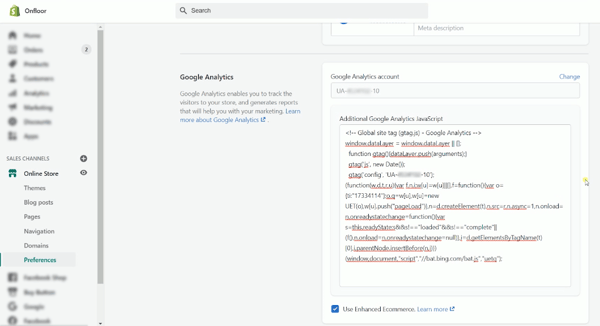
Once you’re in navigate to the Online Store Preferences. Then go to the Google Analytics section. Paste the Tracking ID on the Google Analytics Account Field.
If the script is not in there, just copy them over. Put a check on the Use Enhanced Ecommerce checkbox. Make sure to save your changes. Just click the Save button located on top.
Enable Enhanced Ecommerce
Now that you have enabled the Enhanced E-commerce on your Shopify, you also need to activate it in your Google Analytics.
Go to the Admin Section of your Google Analytics and under “View”, click E-commerce Settings.
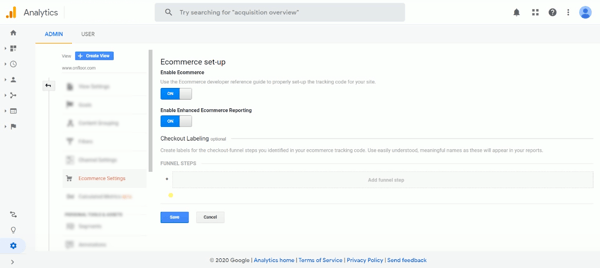
Make sure that the “Enable Enhanced Ecommerce Reporting” is on.
You are all set!
Setting up Google Analytics properly allows webmasters and online retailers to better understand what occurs on their ecommerce site. Now that you have everything setup, you should be able to track every activity that is happening on your website.

Upload Video on Amazon Seller Central Summary
1. Upgrade Google Analytics Property to V4
2. Create a Property
3. Install Google Analytics V4 to Your Shopify
4. Enable Enhanced E-commerce
Watch the video tutorial here:


 Community for E-commerce Sellers


Leave a Reply