How to Post a Job on LinkedIn
As Business Insider describes, LinkedIn is a social network that focuses on professional networking and career development. This is the best place for headhunters looking for candidates to fill in the role that they need. If you’re looking for somebody to fill the role in your company, this tutorial will walk you through how to post a job on LinkedIn.
Post a Job on LinkedIn
1. Log in to Their Website
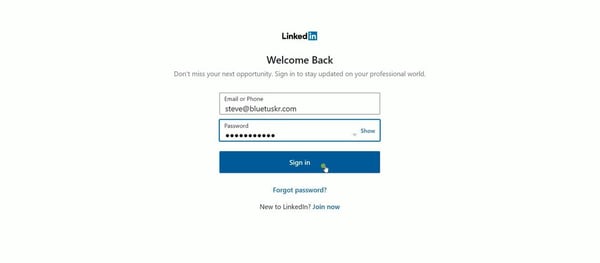
Go to LinkedIn.com and click the Sign In button at the top right.
Enter your email address and password and click Sign In. It may also prompt you to use your Google account if you’re using Chrome as your browser.
2. Access the Job Posting Page
Click the Suitcase Icon on top that says “Job”
![]()
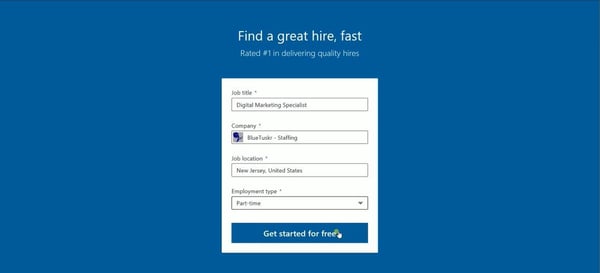
Click the Post a Free Job button to start posting the job.

Fill in the fields. Enter the job title, your company, the job location, and the employment type.
Then click the “Get Started for Free”
3. Enter the Job Details
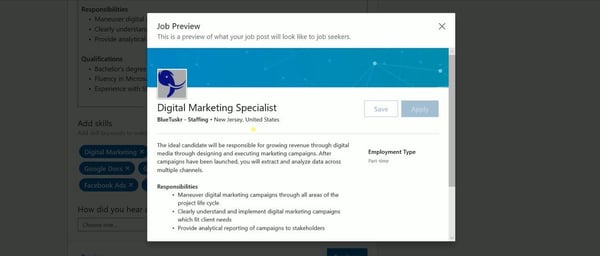
This page is what your applicant will see. This is where you will be adding the Job Description and the Skills required for the role.
If LinkedIn has a template for your job description, then it will automatically populate the job description. You can just edit it on your end. Think of your Job Description as an advertisement for the position that you’re posting.
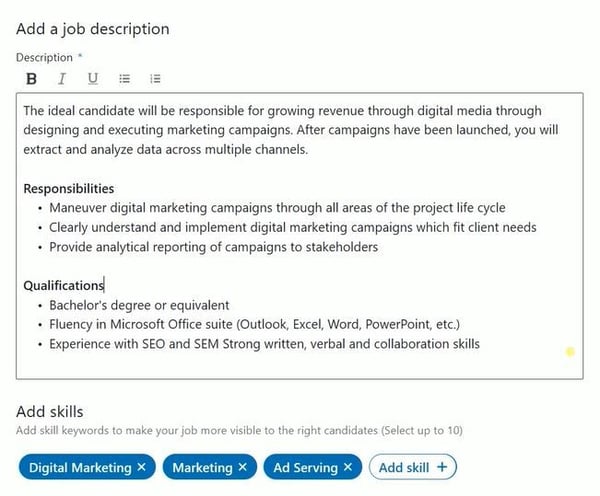
In the skills section, blue items are the skills that are selected. You can click the white Add Skill button to add a new one. Just search for the skill that your applicant must-have for the said role.
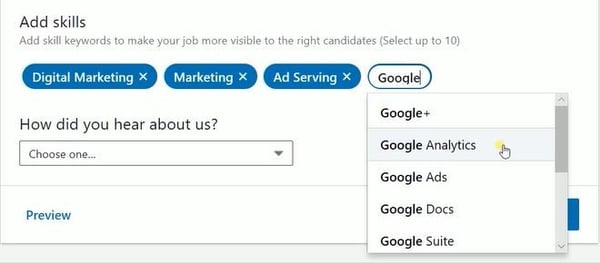
You can just skip the “How did you hear about us” part and click Preview.
Click the Preview button to check how your job posting looks like when viewed by your applicant. You then can click Continue to proceed to the next.
4. Applicant Options
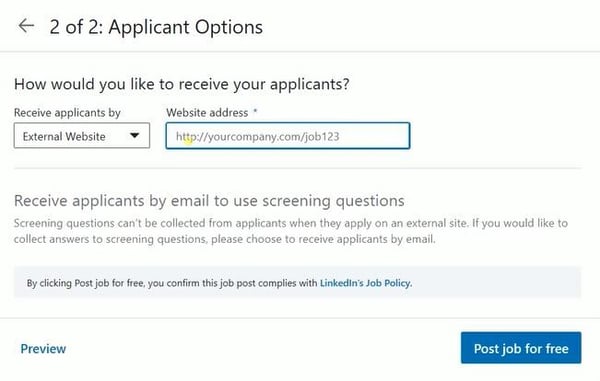
You can choose if you want them to be directed to your website and have them settle their application outside of LinkedIn or you can be notified by email and use LinkedIn for the job application process.
-Screen Your Applicants
LinkedIn will automatically add screening questions base on the job description. It’s up to you to edit, remove, or add more screening questions.
Click the X on the screening question that you want to remove.
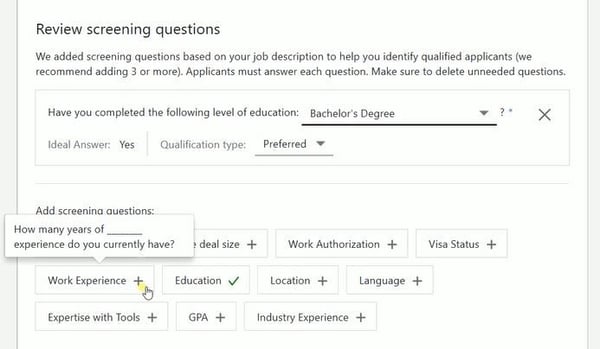
Typically the first one is Education. Just set it up and indicate if you wanted to require this qualification or just prefer it.
Select the new screening questions that you wanted to add below. Make sure to specify the requirement and indicate if you will be requiring this qualification or just prefer it.
-Setup Your Rejection Email
Some of your applicants won’t qualify this, you can set up the email that they will be receiving after they applied for it.
Make sure that the Check Box for the Auto-rate is checked and the Automatically send rejection email is On. You can then edit and personalize your rejection email.
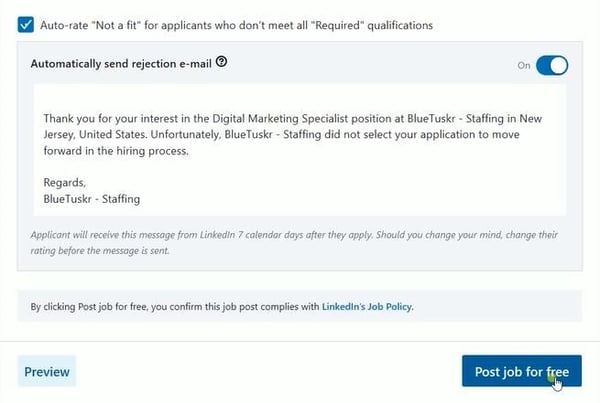
The applicant will receive this message 7 calendar days after they apply to give you ample time to confirm your decision in rejecting the applicant.
Once you’re all set, click the Post Job for Free.
5. Wrap Up
You have an option to promote your job and be on top of the search results or just post this job for free. Since this is your first job posting, then let’s just do it for free.
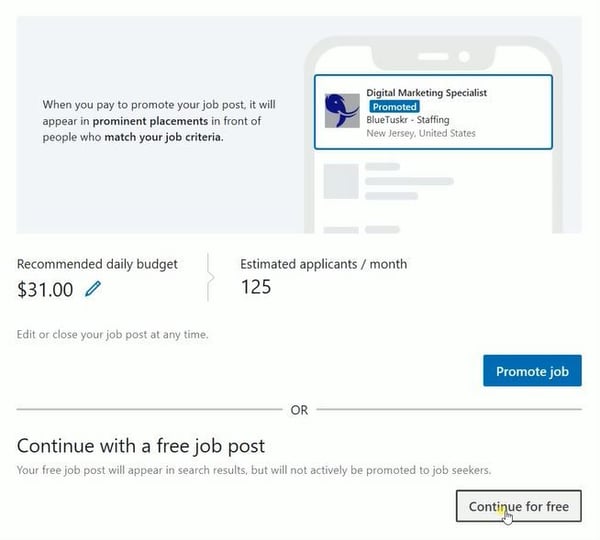
At this point, your job is already active on LinkedIn.
You can also add job compensation to let your applicants know the salary that they will expect for this role. Just check the box and fill in the fields.

So that’s how you post a job on LinkedIn.
Post a Job on LinkedIn Summary
1. Login to their website.
2. Access the Job Posting Page
3. Enter the Job Details.
4. Set your Applicant Options.
5. Add a job compensation.
There are quite a lot of job posting sites such as Indeed, Monster, Glassdoor, ZipRecruiter and even on Facebook. There are currently millions of active job postings and it is wise to know the 6 top job boards to post on so you can find the right candidate for the job. Interested in E-commerce social media services? Contact our team at Bluetuskr, ane-commerce marketing agency.
Watch the video tutorial here:
Connect With Us
Recent Post
- Oct 28, 2023
- Author: Andrew Maff
Tips and Best Practices in Designing the Shopify Homepage
- Sep 12, 2023
- Author: Andrew Maff
How to Use Shopify AR & 3D Models to Boost Customer Engagement

.png)


Tell us what you think!