.png)
Having Facebook Messenger as a Sales Channel on your Shopify website will allow your customers to shop directly from Facebook Messenger. You can also respond to your customer's questions in a single message thread which means you can easily seal the deal! Your customers also receive notifications on their order status directly from that single message thread.
Before you can activate the Facebook Messenger Sales Channel on Shopify, you need to have an online store that is not password protected. This means that you need to pick a Shopify plan so you can disable the password. Next is you need to have a Facebook account with an Admin or Editor role on a published Facebook page.
Now let's walk you through how to add this sales channel.
Add a Messenger Sales Chanel
Login to Facebook and Shopify
You can start by logging in to your Shopify Admin and to Facebook.
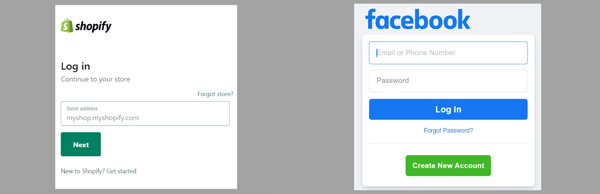
Make sure that the Facebook account that you're logged in has an Admin or Editor role on the Page that you wanted to associate with Shopify.
Add The Messenger Sales Chanel
So on your Shopify Admin, click the Plus symbol (+) beside the Sales Channel on the left. On the pop-up window, look for the Messenger on the list and click the Plus (+) button beside it.
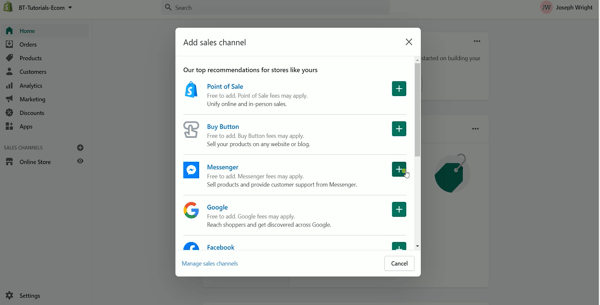
On the next page, you will be updating the Facebook Messenger sales channel. Just scroll down to the bottom and click the Update Sales Channel button.
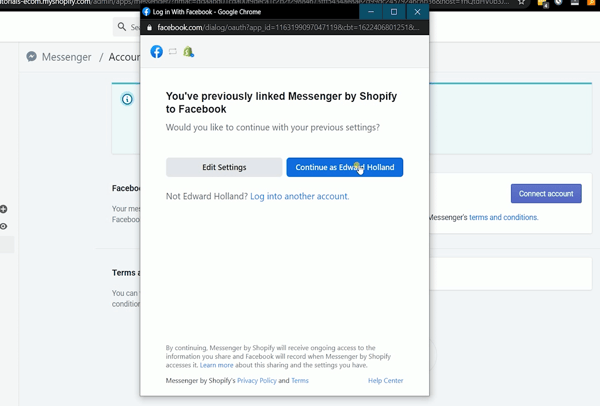
Connect Facebook Page
The next thing that we need to do is to connect the Facebook page. On the Messenger sales channel, click the Connect Account button on the Facebook Page section.
If you are already logged in, then you should see "Continue As". Just click it or you can also choose to login to a different account. Just make sure it has an Admin or an Editor role on the published Facebook page.
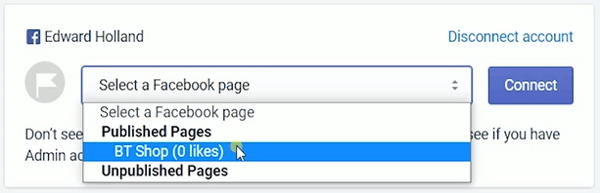
Once you have logged in successfully, what you need to do next is to select the page. Just click the drop-down and make sure you select the correct page and click the Connect button.
To make sure that you have linked it to the correct page, just click the "Test The Experience" button and it should open a chatbox where you can chat directly to the page.
Add the Messenger Icon on your Website
The next thing that you want to do is to add a messenger icon to your website. In this way, your customer can easily chat with you when they have questions or clarifications on the item that they want to purchase.
On the Messenger Sales Channel, click Customization.
Under the Message US section, click the Enable button.
Choose the messenger icon design that will be on your website and adjust the position and the size then click Save.
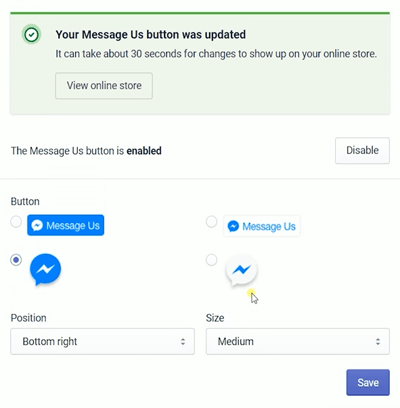
Once successful, you can see the messenger Icon by going to your website. And when it's clicked, it will automatically open a chat-box to the page that manages the website.
You still are able to customize the response and personalize the automated interaction with your customers. You can change it in the Auto Message template located under the customization section of the Messenger Sales Channel.
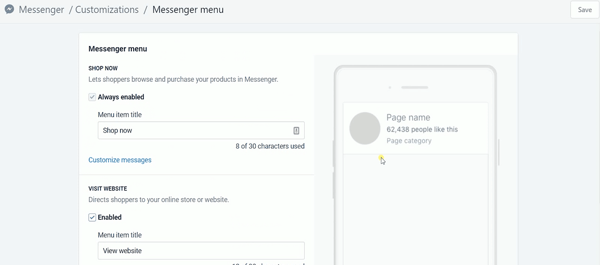
It is up to you if you wanted to change the default template but I could guarantee that these template set up are all set.
Your customer can now easily contact you if they have questions as well as get notified on the status of their purchase. This will give them peace of mind and it also reflects good customer service.
So that's how you add a Facebook Messenger Sales Channel on your Shopify Website. Till the next tutorial.
Whatever you need, we’re here to help. At BlueTuskr, we’re experts when it comes to Shopify Plus, e-commerce, branding design, content marketing, and more. We also offer many services to help you run your Shopify store.
To learn more about how we can help you, contact us now. Interested in e-commerce social media service? Contact our team at Bluetuskr, ane-commerce marketing agency.
Add a Messenger Sales Chanel on Shopify Summary
1. Log in to Facebook and Shopify
2. Add The Facebook Messenger Sales Channel
3. Connect a Facebook Page
4. Add the Messenger Icon on your Website

Watch The Tutorial Here:
Connect With Us
Recent Post

- Oct 28, 2023
- Author: Andrew Maff
Tips and Best Practices in Designing the Shopify Homepage

- Sep 12, 2023
- Author: Andrew Maff
How to Use Shopify AR & 3D Models to Boost Customer Engagement
- May 15, 2023
- Author: Andrew Maff
How to Start a Free Shipping Promotion on Shopify - Updated 2023


Tell us what you think!