.png)
Facebook has a lot of ways of verifying your business but once verified, it comes with a lot of benefits. When you verify your domain on Facebook, you are claiming ownership of your domain in Facebook Business Manager. With this, you can enable the Aggregated Event Measurement (AEM) to support the measurement of web events after Apple begins enforcing its App Tracking Transparency prompt requirement. You can also associate your Facebook page with your verified domain. In this way, Facebook will be notified that the page that was assigned with the verified domain is allowed to edit link previews from that website.
Verifying your domain on Facebook will also enable you to use Custom conversions which let you optimize your ads for custom events and All URL Traffic events, which can’t be optimized on their own. With this, you can show your ads to people who are most likely to perform the action that you prefer.
Now let’s walk you through how to set this up.
Verify your Shopify Domain on Facebook
There are 3 different methods in verifying your domain in Facebook Business Manager. The DNS Verification, HTML File Upload, and the Meta-tag Verification. Since we are using Shopify, we will be using the Meta-tag Verification.
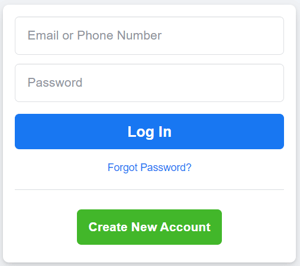
Log in to Facebook and Access FBM
Make sure that you are logged in to your Facebook and access Facebook Business Manager at business.facebook.com.
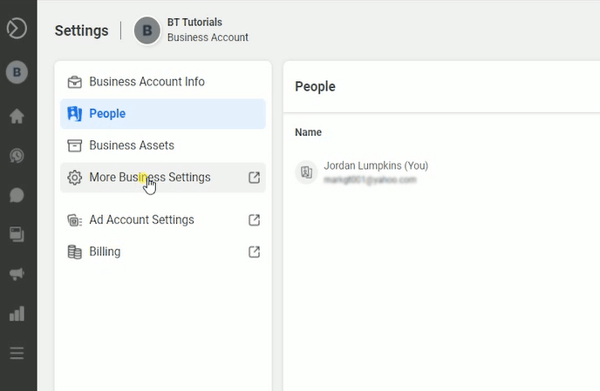
Once you’re in the Facebook Business Suite, click the Setting located at the bottom-left. On the next page, click the More Business Settings.
Add Your Domain
On the Business Settings click the Brand Safety drop-down and select Domains, then click the Add button.
Add your domain on the field and click the Add button.
Verify Your Shopify Domain
What we need to do next is to verify the domain that we just added. So in default, the meta-tag verification is automatically selected.
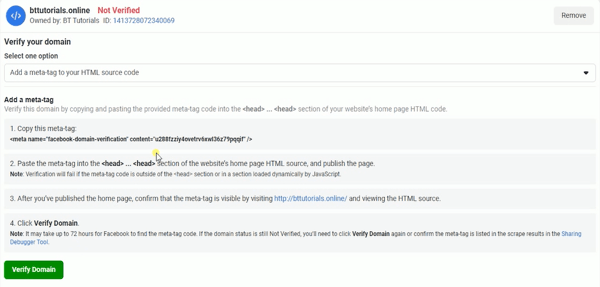
In step one, copy the meta tag. We will be placing this code on your Shopify website.
Access and log in to Shopify at http://www.shopify.com. Select your store and you’ll be in your Shopify Admin.
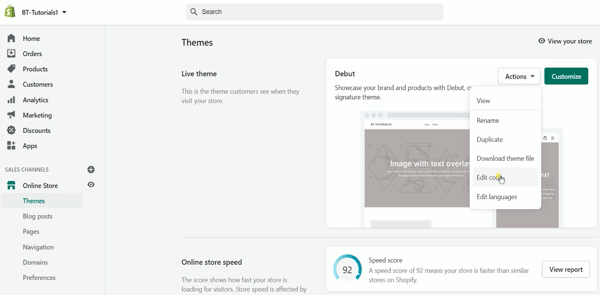
Click the Online Store Sales Channel and on Themes, click the Actions drop-down and select Edit Code.
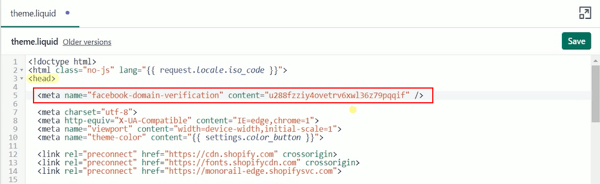
Look for the Head Tag and press enter to put a space. Paste the meta tag that you just copied earlier and Save your changes.
Go back to your Facebook Business Manager and click your URL on step 3. You will then be taken to your website.
Go back to your Facebook Business Manager and click the Verify Button.
It may take up to 72 hours for Facebook to detect the meta-code. Don’t be surprised if it gives you an error. Just wait a little longer and it should be verified soon.
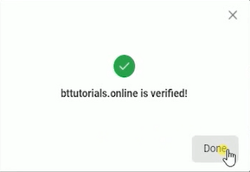
Once it gets verified, you are all set.

Connect an Asset
The last thing that you would want to do is to add an asset to your website.
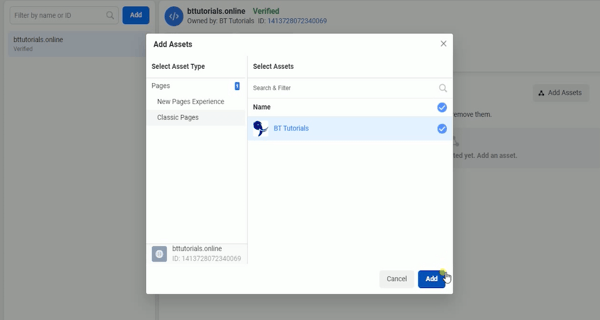
Just click the Connected Assets tab and click the Add Assets button.
Select the Classic Pages and select the page that you own on the list and click the Add button.
You now have added an Asset to your domain.
If you are using conversion events related to the Facebook Pixel or Conversions API, you will need to verify your domain in Business Manager. You will only be allowed to send 8 events per domain with the new ‘Aggregated Event Measurement'.
So that is how you verify your Shopify domain on Facebook through a meta tag.
We have some helpful tutorials related to this and you can view them on our Channel. Interested in e-commerce social media service? Contact our team at Bluetuskr, ane-commerce marketing agency.
Verify your Shopify Domain on Facebook Summary
1. Log in to Facebook and Access Facebook Business Manager
2. Add Your Domain
3. Verify Your Shopify Domain
4. Connect an Asset
Watch The Tutorial Here:
Connect With Us
Recent Post

- Oct 28, 2023
- Author: Andrew Maff
Tips and Best Practices in Designing the Shopify Homepage

- Sep 12, 2023
- Author: Andrew Maff
How to Use Shopify AR & 3D Models to Boost Customer Engagement

- May 15, 2023
- Author: Andrew Maff
How to Start a Free Shipping Promotion on Shopify - Updated 2023


Tell us what you think!